Pages

Sunday, January 26, 2014

Make a Garment a Month Challenge - February Project

What better way to be committed to making a garment than posting it to the world.  Now I can't change my mind!

For February's Make a Garment A Month Challenge - I've decided on Vogue 1135 - an OOP pattern by designer Chado Ralph Rucci.  Since it's February - I've selected a nice red knit for this project.  


And because the picture on the front of the envelope doesn't do give you a good idea of what the dress  actually looks like (probably the reason the pattern is now OOP), I've included the line drawing from the back of the envelope as well.  All of those lines below - those are pintucks!  A new experience for me!


I've ordered a pintucking foot and a "pintuck blade" for my machine and patiently await it's arrival.  I'm sure alot of practice pintuck pieces (gosh, say that quickly three times!) will happen before I actually sew up the real garment.  I'll post my progress as I go.

Wish me luck and Happy Sewing!

Star


Saturday, January 25, 2014

Vogue 2949

Here we have a Sandra Betzina jacket pattern for Vogue - Pattern Number 2949.  I made this a few years ago but since I seem to be on a big collar fetish lately, I thought I would post this one now.  

This is a very unstructured jacket.  There is no interfacing, no buttons, no buttonholes.  Also, I opted to not include the facings because I wanted the reverse side of the fabric to show on the collar. It does hang a little floppy but I think that just adds to the jacket's unique character.  Sometimes I opt to wear a decorative pin to hold it closed in the front and other times I just leave it open, like below.


The fabric is a cotton, reversible waffle weave that I can't remember where I purchased it.  


I sewed the wrong sides together on the sleeves and the back where the two rectangular flaps are added. Then, I bound all of the seams with a knit fabric in my stash.  You might recognize the knit from another project.  Stay tuned though, I have a little bit of that fabric left so you might see it soon in another project.  Here is a close-up of the fabric and the bound edge.


For the sleeve, I left the original length of the sleeves on the pattern (which was about 4 inches too long) and allowed that to just fold back on itself to form a cuff.  This way, the reverse side of the fabric shows and matches the collar. Here's the sleeve without the cuff turned back.


All of the bound corners on the jacket have a mitered edge.  Here's a pic of one of the rectangular flaps on the jacket back.


I think the side view of the jacket shows how drapey the fabric is.


On the jacket lower back, there are two rectangular pieces that are sewn to the jacket back and front pieces.  Again, I opted to sew them wrong sides together and bound that edge as well.  The bound edges on the sleeve kind of remind me of the ridge on a dinosaur's back!

I hope you like it.  I remember it did take me awhile to decide which side of the fabric I wanted to show on the outside because I liked both sides so much.  I think the darker circle side worked best though because it coordinates with the knit fabric on the bound edges.

Happy Sewing!

Monday, January 20, 2014

January Make a Garment a Month Challenge - Done!

This is my January finished garment for the Make a Garment a Month Challenge.  The pattern is an Issey Miyake pattern by Vogue, number 1052.


The jacket is a loose fitting, lined, above hipline jacket with double draped collar, welt pockets, princess seams and back ties.  Lots and lots of topstitching as well!  I changed the single welt pocket to a double welt and added a double flap with a button.  I also shortened the sleeves by 1 1/2 inches.


Side View

The sleeves are a sort of raglan style with two pieces making up the front and back sides that marry up with two additional pieces making up the sides of the sleeves.  It forms a sort of gusset underneath the armhole.  I'm used to a more fitted, inset sleeve so these feel a little strange to me.
Back view

A special thank you to everyone that voted for the "Circles" lining.  This was left over from another project and I couldn't decide between the circles or the cherries so I put it out to vote and the Circles won!

Inside front

Inside back

For the ruffled collar, I knew I wanted to do a rolled hem on my serger because I found some variegated thread that matched perfectly.  I also knew the corners would be a bit of an issue with my new serger (lack of practice on my part), so I decided to slightly round out the corners instead and just serge away.  Below is a diagram of what I trimmed off before serging.  The collar is supposed to have a 5/8 hem zig zag hem around the edges, but I opted to keep the extra 5/8 inch rather than serging it off and have a slightly bigger collar. 


Doesn't the variegated thread look great!

Here's a close up of the rolled hem.  On the collar, both the right and wrong sides of the fabric show as you can kinda see here.  The wrong side is slightly darker.

From the side, the buttons slightly show as well.  I just used some plan buttons from my stash.  No need for fancy ones here since the collar is the main feature of the garment.

This is just a cool angle so I thought I would throw it in as well.

Here's another view of the pocket and the ruffled collar.

I think my jacket turned out pretty good and I can't wait to wear it to work tomorrow!

Happy Sewing!


Sunday, January 19, 2014

Appeal for Rain #2

This is my second appeal for some rain in Northern California.  Mother Nature ignored my first appeal, so I thought I would do another one (without the umbrella this time - maybe that was confusing her for some reason!).

This raincoat is Saf-T-Pockets Pattern #2001 - The Portlandia Coat.


The goal of Saf-T-Pockets Patterns is to include numerous pockets in the design so you can keep your cash and other small valuable items safe and secure on your clothes and with you at all times. This coat is completely reversible and has 6 pockets all together.  Two patch pockets with zippers on one side and on the reverse side, four pockets (two patch pockets with two hidden pockets inside of those).


The fabric I used was a reversible home dec fabric.  Once the coat was made, I sprayed it with Scotchgard to give it some waterproofing.  There are four buttons at the front neck (two on one side and two on the reverse side).  I do feel that it needs more buttons down the front - when the wind blows, the coat flys open in the front unless you are holding it.


This coat has ALOT of room.  I made a small and could easily wear a bulky sweater and a down coat underneath it and still have room!


The hood is also very roomy.  I feel like a Monk when I wear it!


Here's a view of the reverse side.


All of the seams on this coat are flat felled - that's what makes it reversible.


The hood has a band of elastic sewn to the top portion of it.  This helps pull in some of the fabric, but I still think there is way too much hood.  When the wind is blowing, the front portion of the hood completely covers my face so I have to hold it with my hand to see where I'm going.  No rain is touching my head for sure!

The box pleat in the back makes an inverted pleat on the reverse side.


Here you can see how the hem and front bands turn and form a decorative feature on the reverse side.

Come on Mother Nature - throw us some significant rain producing storms!  Otherwise, I'm going to have to wash my car.  Oh wait a minute, I can't do that either - now we are in drought mode so we need to conserve what little water we have.

Maybe if everyone out there does a rain dance we'll get some rain?  I'm up for anything at this point!

Happy Sewing!

Sunday, January 12, 2014

Sewing Organization Tip #7

Thread - there are so many different kinds, shapes, purposes, etc.  What do I do with all of them?

I keep all of my thread in the closet in my sewing room.  There was an unused corner of the closet and it was just perfect to mount these thread spool racks to the wall.  I have them from floor to ceiling on one side of the closet.

I like to store my thread in the closet because they are out of direct sunlight - which leads to deterioration of the thread over a long period of time.  Some of the serger spools, I have owned for quite while.


Here's the rack near the ceiling.  I need a little step stool to access the ones nearer the top, but that's ok.  The step stool tucks away nicely in the closet as well.

Another idea for thread storage is to use the nuts and bolts bins like I showed in Tip #5.  I store all of my rayon machine embroidery threads in the top bin.  On the bottom, I have some very small spools that fit just perfectly in these drawers, alongside some more beads and larger buttons.


This concludes my series on sewing organization tips.  I hope you have found them to be useful and will try a few!

Happy Sewing!

Saturday, January 11, 2014

Sewing Organization Tip #6

Help!  I can't see the top of my desk!

This one took me a while to come up with a solution.

When I'm working on a project - it tends to cover up my entire desk, the computer, the cutting board and spill onto the floor.  And the worst part is, I tend to just close the door to my sewing room and leave it that way only to find I need to move everything just to get to the computer or find something buried under the pile on my desk.

So, I decided I needed some project bins.  I found these cute bins at Target last year for about $8.00 each.  Now when I'm finished working on something, I just grab a bin, throw everything into it and put it into my closet on a shelf tucked between the organized trims and patterns.  Then, when I have another opportunity to sew, I just pull out the bin and everything I need is in it and I can easily pick up where I left off.  I'm not looking for the buttons I left on the cutting board or the lace that fell on the floor - everything is tidy, organized and in the project box.

One of my three project bins

Don't they look happy on the shelf?
Tomorrow's topic - Thread tails.....

Happy Sewing!

Friday, January 10, 2014

Sewing Organization Tip #5

Buttons and Hooks and Snaps - Oh My!

I'm sure you've had a button box.  I remember as a kid looking thru my Grandmother's button box trying to find the perfect match for a garment she was making for me.  I would occasionally come across various hooks and snaps in the box too.  This task used to keep me entertained for a while as a kid, but now I need to find what I need quickly and not dig thru multiple boxes for the right item.

As I mentioned in my earlier post of the wonderful neighbor, I have alot of buttons, snaps, hooks and eyes, grommets, needles, beads, etc.  Basically, if it's sewing related and comes on a card or in a small box, chances are that I have alot of them.  So again, what to do with all of them?

My solution:  The Nuts and Bolts bins you purchase at the hardware store.

I have four of them and they hold all of my buttons (color coded of course!), snaps, hooks and eyes, beads, needles, etc.  Pretty much everything that is small and needs a home, ends up in one of these bins.


Anyone need a snap for jeans?  They have their own little drawer

How about some black buttons?

Or some red, white and blue snaps?
These bins are kept in my closet and help to keep everything organized and dust free.  Now when I need something, I just head there first and chances are I have what I need without another trip to the store.

These bins are anywhere from $10 - $25 in the hardware store.  They may not look very pretty, but they work perfectly for this job.  Once the crafting industry gets wind of this idea, I'm sure they will start being manufactured in pretty colors and cost twice as much!

Tomorrow's topic - My desk is a mess!

Happy Sewing!

Thursday, January 9, 2014

Sewing Organization Tip #4

I love Independent Patterns and have accumulated quite a few.  I described in my first Organizing post how I use binders for storing a record of all of my patterns.  I had many pattern boxes labeled "Miscellaneous", "Various", and "Various 2".  Well, I realized I was wasting too much time looking thru all of these boxes trying to find the correct Independent Pattern that I wanted so something needed to change.

My Mom was coming down for the weekend so I decided to task her with the sorting project.  Her job was to organize all of the independents according to their company name and alphabetize.  Independents like The Sewing Workshop that I have alot of patterns got their own box.  Every other company is organized in the A - Z boxes.  Now when I need one of these patterns, I can quickly go to the correct box!

Thanks Mom!


These might not be the prettiest boxes, but at least they are now organized.  Maybe I should recover the boxes and make them pretty?  Another thing to add to the "To do list" I guess.

Tomorrow's topic - Buttons and Hooks and Snaps - Oh My!

Happy Sewing!

Wednesday, January 8, 2014

Sewing Organization Tip #3

Get a grip on those sewing necessities!

We all need bias tape, hem tape, ric rac, zippers, trims, ribbons, etc., and they can quickly accumulate and get out of hand.  How many of us have had a box of  "Miscellaneous" stuff that we rarely look into and end up buying the same things over and over again.

A few years ago, I was blessed with a wonderful new neighbor who learned that I sewed.  His wife had passed away a few years prior and he was left with all of her sewing stuff and didn't have a clue what to do with it. Luckily, my sewing guild has an annual sewing garage sale so I told him I would sort thru everything, keep what I could use and then sell the rest for him at the garage sale.

So the next weekend we got together to start sorting.  Well, the wonderful new neighbor neglected to tell me that him and his wife had purchased a sewing store that was going out of business prior to his wife's passing so he had alot (and I mean alot) of stuff to sort thru.

So after a few weekends of sorting, I ended up with alot of those sewing necessities I described above.  My solution - purchase some plastic shoe storage bins and organize according to color.


Now all of my trims have a nice box, sorted according to color and kept dust free!


Here are all of the zippers gifted from the neighbor as well.  I don't think I will ever need to purchase another zipper!
Many thanks to my wonderful neighbor and I hope this will give you an idea for storing your trims as well.

Tomorrow's topic - Independent Patterns.

Happy Sewing!

Tuesday, January 7, 2014

Sewing Organization Tip #2

Today's tip is for organizing fabric scraps.  By scraps I mean fabric pieces that aren't quite big enough to make another garment, but are still cool enough to keep for something.

I've had an alteration business for a number of years and have accumulated alot of scraps.  For some reason, I just can't bear to throw away those wonderful fabric cut off from prom dress hems or other fabulous garments.  I know one day I will use them for something!

Well after a few years of alterations, they were starting to create a big heap in the corner of my sewing room so I came up with a solution.  IKEA!


I bought two bookshelves with matching boxes and now my scraps have a home.  Each box contains a different color and now when I just need a little something for a embellishment or a small project, I head to the scrap box and pick out something fabulous!

I hope this tip will come in handy for you as well!  Tomorrow's tip - Getting a grip on your trims.

Happy Sewing!


Monday, January 6, 2014

Sewing Organization Tip #1

As sewers, we tend to accumulate alot of "paper" stuff.  Papers that needs to be organized and stored, and easily accessible for future reference.  Between magazines, patterns, sewing articles, class samples, just where does all of that stuff end up?

If you are like alot of sewers, stuff tends to get put in a "safe place" somewhere that you will never find again.  And you spend hours and hours trying to find just that one article, only to find lots of other things you forgot about in the process.

Well, I have a solution for all of the "paper" stuff that goes along with sewing.

Use Binders.


I use binders for all of my "paper" related sewing items.

For my patterns, I photocopy the front and back of the pattern envelope and put the photocopy in a clear plastic sheet protector and then file it in one of my pattern binders (according to what the garment is - jacket, pant, dress, etc).  The actual pattern itself, gets filed into a pattern box according to manufacturer and number.  Then, when I want to make a dress, I can just grab my binder and flip thru all of the photocopies of the dress patterns that I have and select one.  Then, go to the appropriate pattern box, pull out the pattern and voila!  Alot of time saved!

Some of the photocopied patterns in my binders
I do the same for my Burda Magazine patterns.  I photocopy the "All Styles at a Glance" page and just hole punch these and put them directly into a binder.  Then, I can quickly glance thru all of them, tab the ones I'm thinking about and then go to the correct year binder that the magazine is in and voila again!  Alot of time saved!


Burda patterns in their binder

Other items I keep in binders:
- Class samples with their instructions.  Usually in sheet protectors.
- Knitting instructions
- Embroidery ideas
- Sewing articles I've torn out of magazines.  Again - organized by their category for easy reference.
- Clothing styles I'd like to copy in the future
- Scrapbooking layouts I'd like to use in the future
- Cooking recipes

The possibilities for binders is endless!

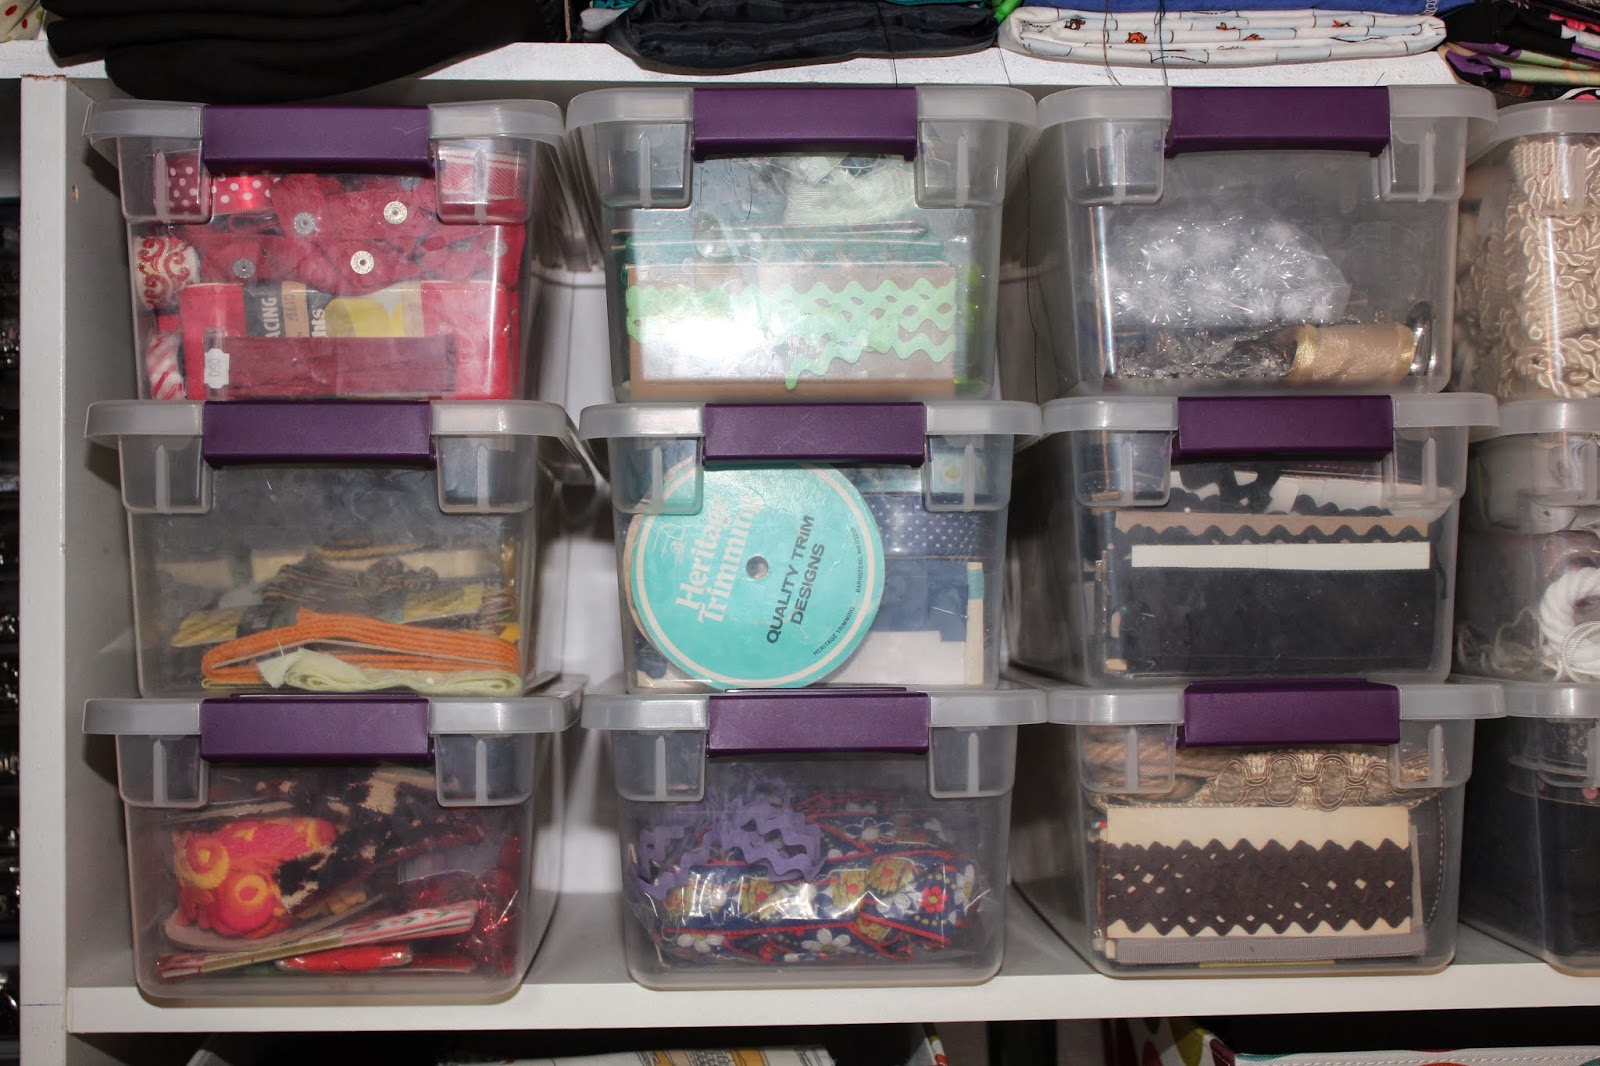
I hope this tip will help tame some of your paper madness in the future.  Stay tuned tomorrow for a simple way to organize those fabric scraps.

Happy Sewing!


Sunday, January 5, 2014

Make a Garment a Month Challenge

I've joined the Make a Garment a Month Challenge.  Here's my January project:

It's Vogue 1052 - an Issey Miyake pattern from 2008.  I will be making the jacket from the teal fabric, but I can't decide which lining to use?  The circle one leftover from my last project or the cherry print one?  What do you think?   Please leave me a comment with your lining preference.  I will start cutting this out next weekend.


Also - stay tuned each day this week as I will be posting different ways to organize your sewing stuff.  Thanks everyone and Happy Sewing!

Star


McCalls 2979

This is a coat I made from a vintage 1971 pattern - McCalls 2979.  I can't remember where I picked up the pattern, but it's been in my stash for quite awhile.


I had some wonderful grayish/blue quilted home dec fabric in my stash that was just calling to me to be made up into something. Here's the start.  It was a very "stringy" fabric.  Why it never occurred to me to serge the edges I will never know.  Instead, I had threads on me and half of the carpet in the house from all of the threads it left behind.

Off to a good start!

I had purchased some buttons at a local fabric store and noticed when I got home, that the inside edges were kind of rough.  I had already snagged the inside of the coat once and knew these edges would cause more snags.
Can you see the rough edges on the buttons?


An easy way to fix the rough edges is to cover them with clear fingernail polish.  This also works if you have rhinestone bracelets and notice they are snagging your garments - just paint the entire bracelet with the clear nail polish and it will end the snagging!


After painting the buttons, I thought the jacket would look better with bound buttonholes instead of just regular buttonholes so I did a sample.  

Yes - that looks much better than regular buttonhole!

Now the problem was, I had already completed most of the jacket so marking for the bound buttonholes afterwards was quite a challenge!  I think I did ok though.  See pic below. 


Now it was time to add a lining and trim.  I can't bear to have a plain lining in a jacket so I opted for this wonderful circle print by Robert Kaufman.  Also, I wanted to add a bit of fun between the jacket and the lining so I took two different colors of ric rac - yellow and red - and twisted them together.  After much twisting, twisting, twisting, etc, (you get the picture), I finally had a piece of finished trim (2 1/2 yards worth).  I gave it a good press to make it lay flat and then sewed it to the facings and then sewed the lining on top of that.
Yippee! A fun lining

The pattern comes with a belt pattern piece but no belt loops pattern piece.  Now just what are you supposed to do with the belt when you take it off if you don't have belt loops?  Put it in your purse, wear it as a headband, tie it around your waist?  I have no idea.  So I added some belt loops too.  Here's the finished product.  The color (at least on my monitor) is more true on the dress form pics than on the pictures of me in the jacket.  Not sure why that is.  


The finished product!

Gotta love the collar topstitching

Back view


I can't decide if I like it better with the belt or without

Back with the belt


 And here it is on me!


Love the lining!


Happy Sewing!